In this guide, we'll create a "loot-box" NFT that can be opened to reveal tokens inside of it!
In more detail, we'll bundle up ERC20, ERC1155, and ERC721 tokens into a set of ERC1155 NFTs using the Pack contract!
This guide will outline how to:
- Create an ERC20 token
- Create an ERC1155 "semi-fungible" NFT Collection
- Bundle these together to produce a quantity of ERC1155 loot-box NFTs that can be opened to randomly reward the opener with some of the tokens that were bundled into the set!
Demo:
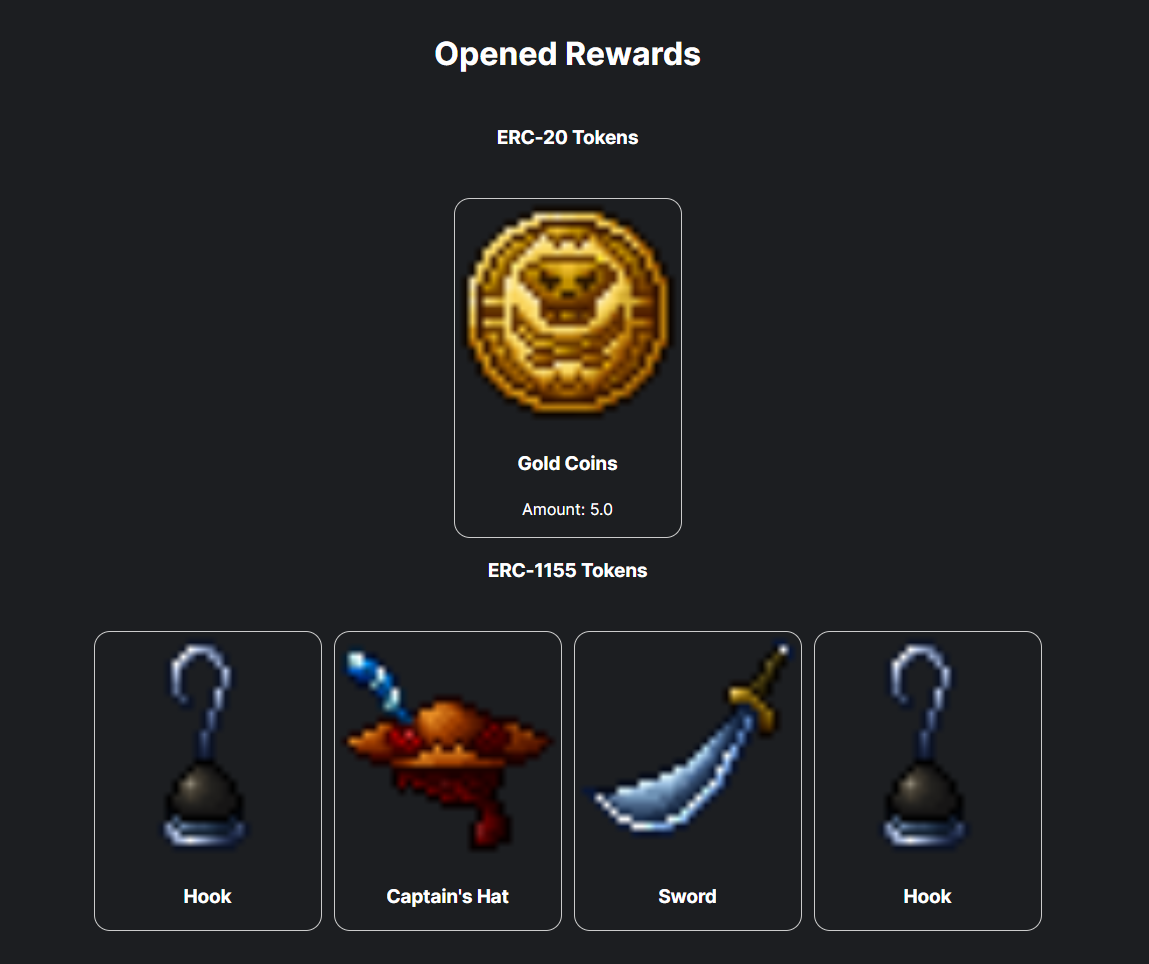
You can access all of the code for this example on our thirdweb-example GitHub org.
If you want to create a copy of this project, run:
npx thirdweb create --template packs
Let's do this!
The Idea
We're going to create a pirate-themed loot box!
- The loot-box NFT will be a treasure chest
- Inside the loot boxes, users can unlock two different types of things.
- Pirate items (swords, keys, flags, etc.) - these will be NFTs.
- Gold coins - these will be tokens inside our ERC20 token smart contract.
Items will have different rarity levels, so some loot boxes will be better than others!
Creating the Token
ERC20 is an Ethereum standard for "fungible" tokens, which simply means that each token is the exact same in value as other tokens in this smart contract.
To create the token, I'll use the dashboard.
Head to https://thirdweb.com/contracts/new.
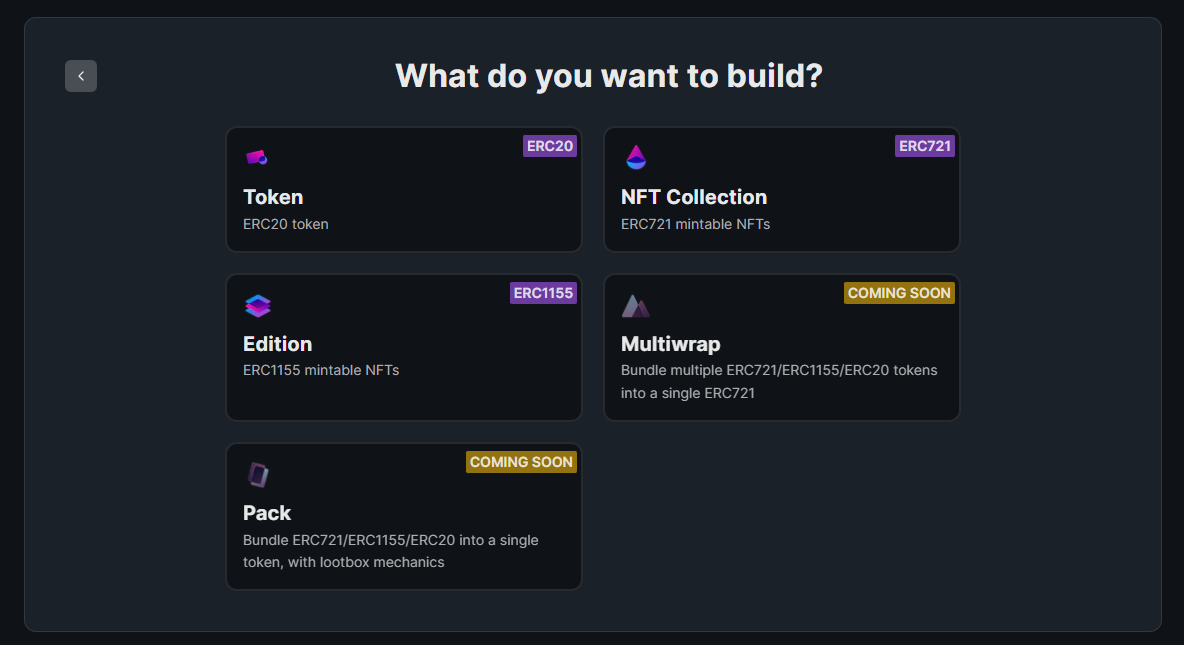
From here, we'll need to provide:
imagenamesymboldescription
for our token!
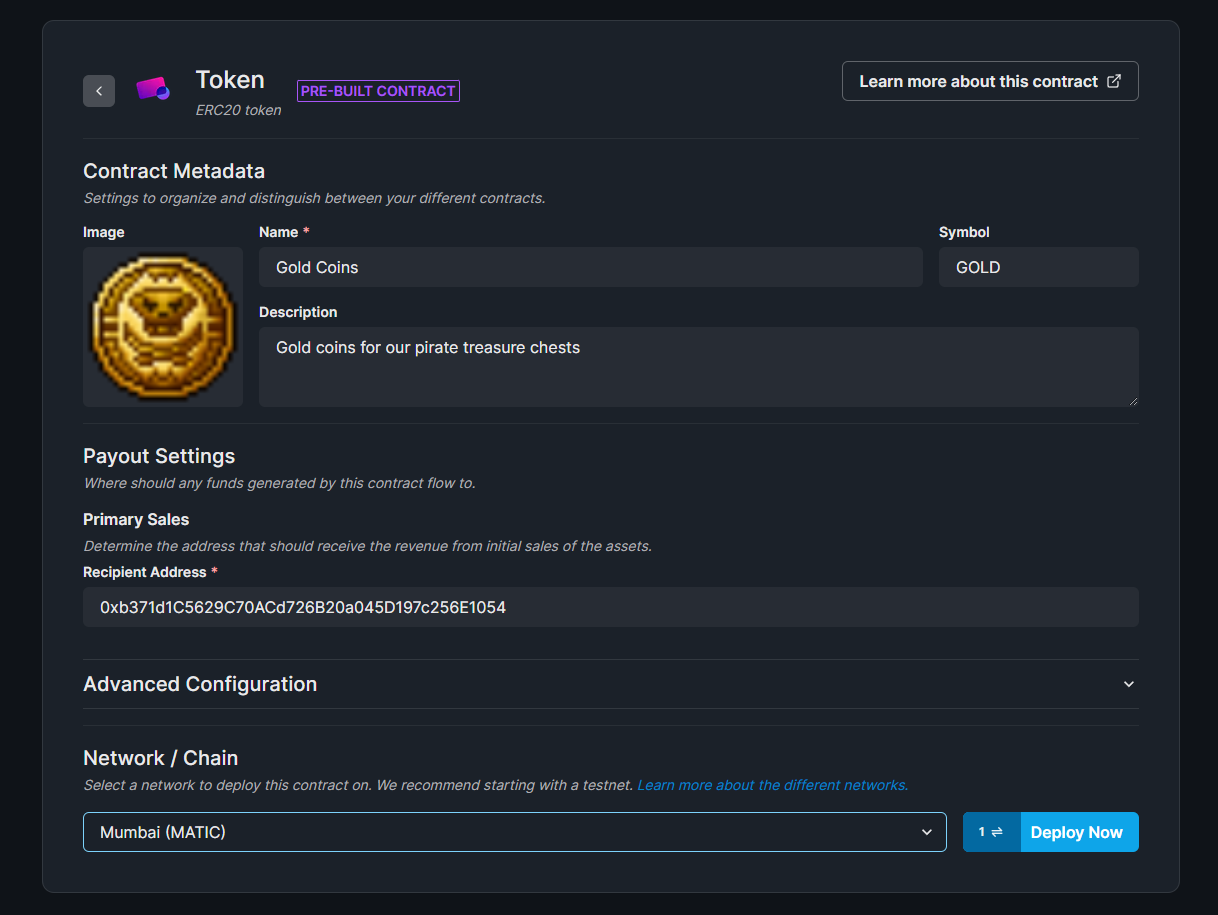
Once you're happy with your token metadata, click the Deploy Now button!
For the purpose of this guide, we'll be deploying our contracts onto the Polygon Mumbai Testnet.
If you want to learn more about testnets, check out this guide on Which network should I use?
Once we deploy it, we can see the result, which looks like this:

Since we have a total supply of 0.0, let's mint some tokens now, by clicking the Mint button!
I'll mint 100 $GOLD tokens:
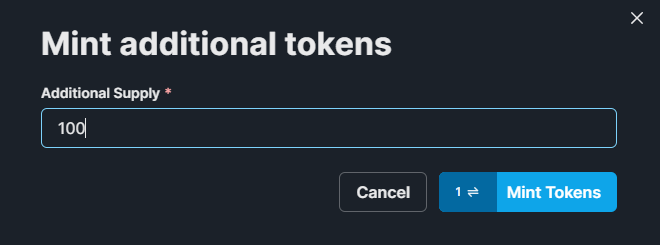
Nice! Now we have our very own token, let's start creating some Pirate Item NFTs!
Creating the ERC1155 NFT Collection
ERC1155 NFTs are known as "semi-fungible" tokens.
They're NFTs, but each NFT in the collection can have multiple "copies". (This is different from the typical ERC721 non-fungible NFT, which can only have one quantity per token.)
Head back to the dashboard and click "Deploy New contract". Click "Create NFTs and Tokens", and then "Edition".
Once again, we'll need to provide the metadata for the contract:
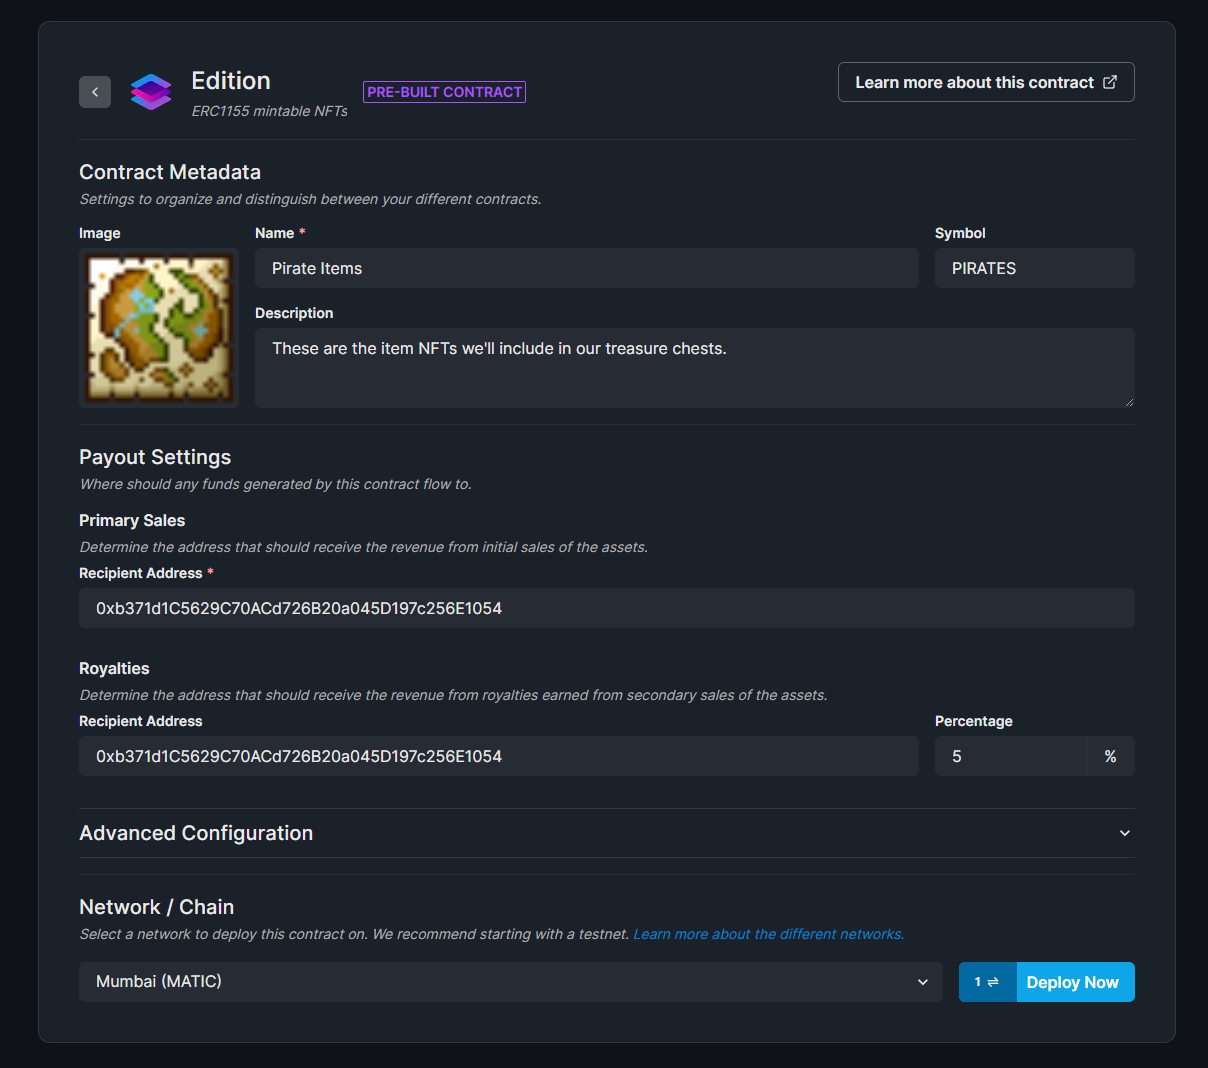
Nice! Now we're ready to mint some NFTs into this collection. Here's how it looks so far:
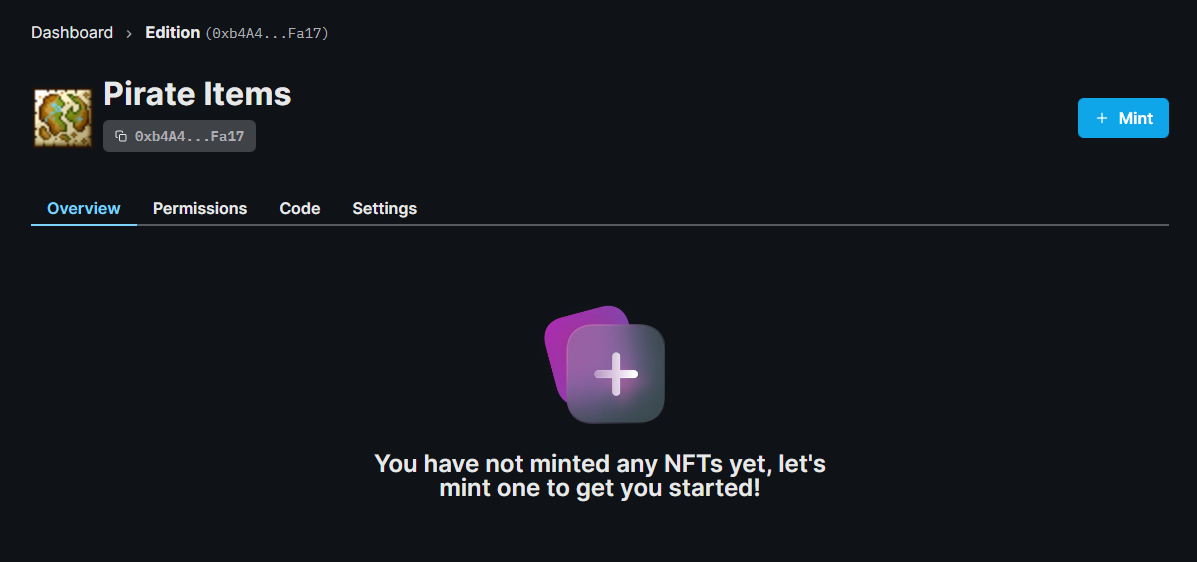
Before we dive right into the minting, let's think about how we want our treasure chests to work.
In this collection, I want to have 100 treasure chests total, and each pack contains 5 rewards.
This means we'll need 500 rewards total to be bundled up into the creation of our packs. I have done some planning ahead of time to show how this will work and added different rarity levels of items.
| Name | Units | Quantity per unit | Total | Chance Per Item (5 items per chest) |
|---|---|---|---|---|
| Compass | 100 | 1 | 100 | 20% |
| Anchor | 100 | 1 | 100 | 20% |
| Sword | 100 | 1 | 100 | 20% |
| Captain's Hat | 65 | 1 | 65 | 13% |
| Cannon | 50 | 1 | 50 | 10% |
| Hook | 50 | 1 | 50 | 10% |
| Gold Coins | 20 | 5 | 100 | 4% |
| Rum | 10 | 1 | 10 | 2% |
| Gold Key | 5 | 1 | 5 | 1% |
Key things to note
- Gold coins come in quantities of 5, meaning when a user opens this item, they receive
5gold coins. (For other opened items, they just receive1) - We have different rarity levels based on how many we include to be bundled into the pack. For example,
Gold Keyis the rarest item since there are only 5 of those out of 500 total reward units.
It's important to note that you should do a similar level of planning, as the amount of packs that get created is equal to the:
Amount of total units bundled / Amount of units per pack
For example, we've provided 500 units, and have 5 units per pack, so this means we will end up with 100 packs.
Now let's mint these NFTs!
I'll mint the NFTs we listed in the table above with the specified quantity, remembering that our Gold Coins are the ERC20 tokens we already created in the previous step!
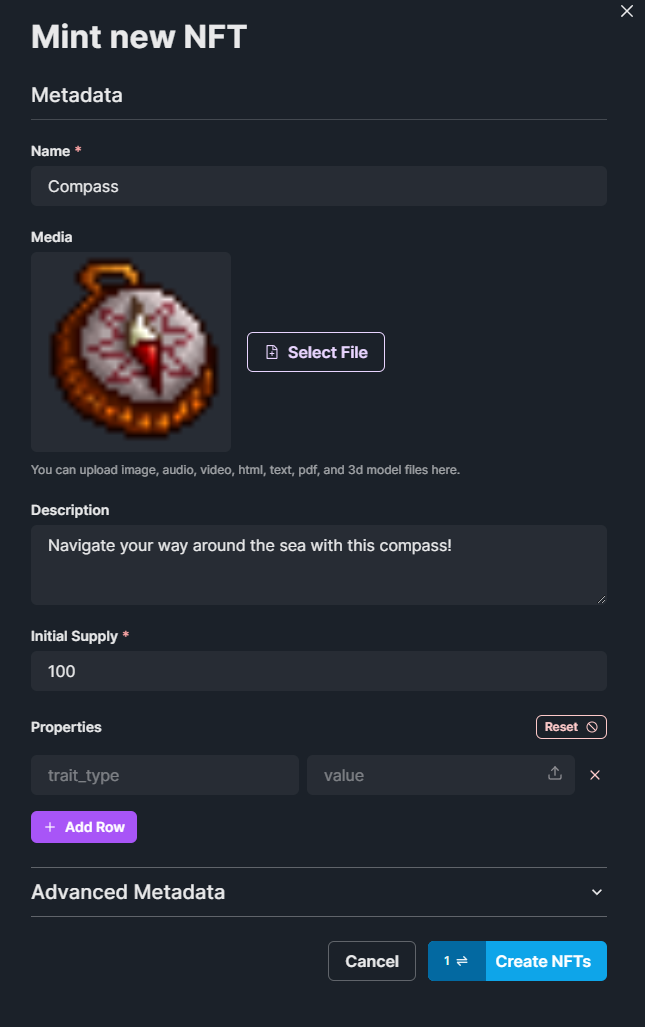
After I've minted all the NFTs, it looks like this:
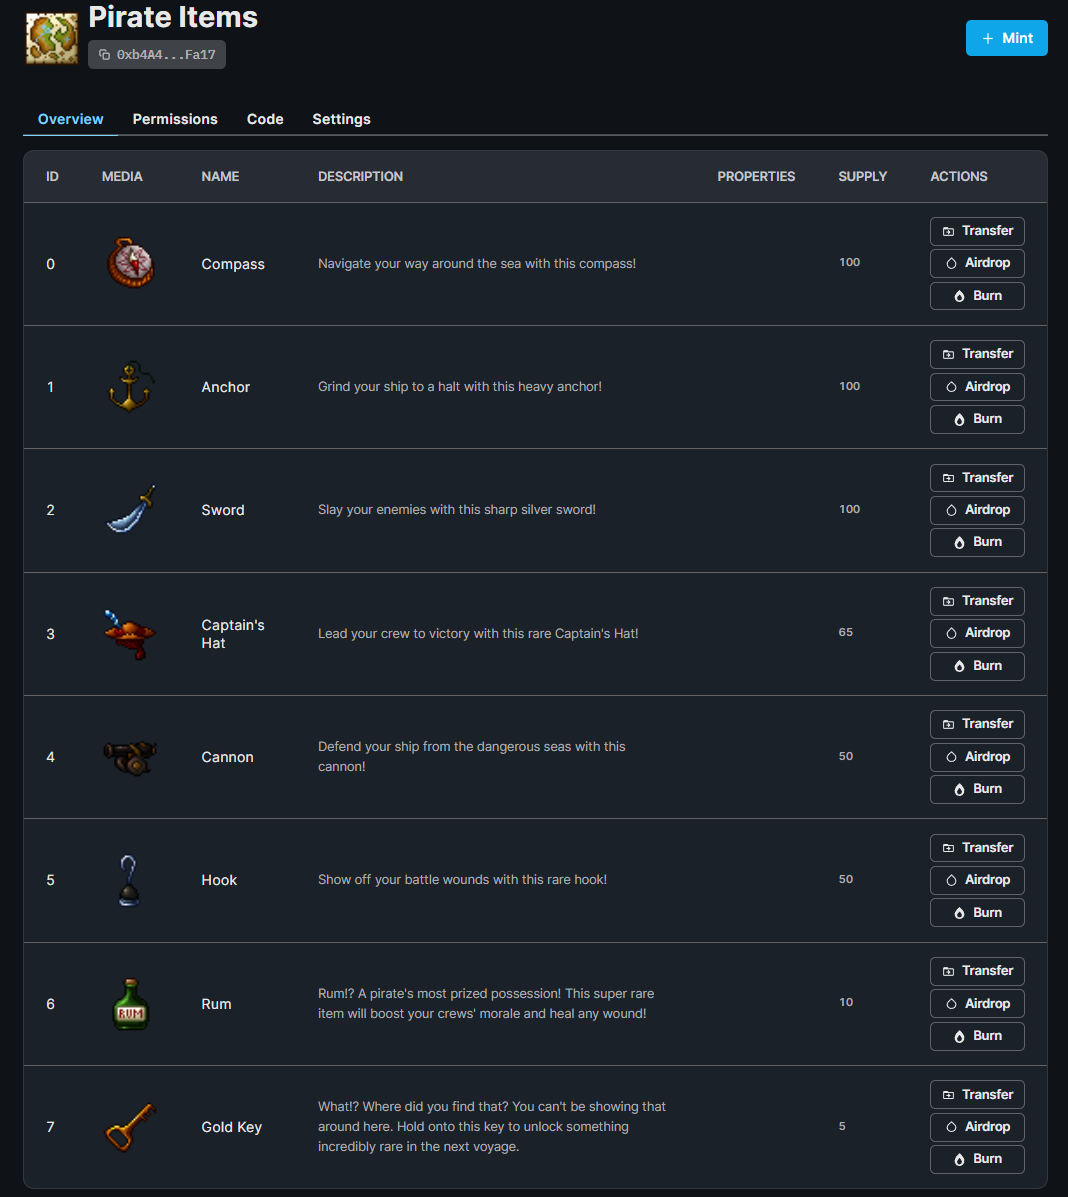
Now we're ready to bundle these into our treasure chests - let's make some Packs!
Creating Packs
We'll move onto a code environment now.
Let's use the CLI to create a new Next.js + TypeScript project:
npx thirdweb create --next --ts
Open this project up in your text editor, and create a new folder called scripts.
The first thing we need to do is export our wallet's private key.
Learn how to export your private key from your wallet.
Ensure you store and access your private key securely.
- Never commit any file that may contain your private key to your source control.
import { ThirdwebSDK } from "@thirdweb-dev/sdk";

const NETWORK = "mumbai";
// Learn more about securely accessing your private key: https://portal.thirdweb.com/web3-sdk/set-up-the-sdk/securing-your-private-key
const sdk = ThirdwebSDK.fromPrivateKey("<your-private-key-here>", NETWORK);
Now, create a file within the scripts directory we just created called deployPack.mjs.
import { ThirdwebSDK } from "@thirdweb-dev/sdk";

(async () => {
  // Learn more about securely accessing your private key: https://portal.thirdweb.com/web3-sdk/set-up-the-sdk/securing-your-private-key
  const sdk = ThirdwebSDK.fromPrivateKey("<your-private-key-here>", "mumbai");

  const packAddress = await sdk.deployer.deployPack({
    name: "Treasure Chests",
    primary_sale_recipient: "0xb371d1C5629C70ACd726B20a045D197c256E1054",
  });

  console.log(`Pack address: ${packAddress}`);
})();
We can run this script by running:
node ./scripts/deployPack.mjs

Now, our next step is to bundle the NFTs and ERC20 tokens we created into these packs!
Create another file in the scripts directory called bundleTokens.mjs.
This script will be responsible for minting our Pack NFTs.
There are a few steps to it, so let's break it down step-by-step:
Import required packages
import { ThirdwebSDK } from "@thirdweb-dev/sdk";
import fs from "fs";
Provide Approval for our Pack contract to transfer our tokens from Token and Edition contracts. This is required for the bundling step.
(async () => {
  const packAddress = "0x0Aee160411473f63be2DfF2865E81A1D59636C97";
  const tokenAddress = "0x270d0f9DA22332F33159337E3DE244113a1C863C";
  const editionAddress = "0xb4A48c837aB7D0e5C85eA2b0D9Aa11537340Fa17";

  // Learn more about securely accessing your private key: https://portal.thirdweb.com/web3-sdk/set-up-the-sdk/securing-your-private-key
  const sdk = ThirdwebSDK.fromPrivateKey("<your-private-key-here>", "mumbai");

  const pack = sdk.getPack(packAddress);

  // Set approval for the pack contract to act upon token and edition contracts
  const token = sdk.getToken(tokenAddress);
  await token.setAllowance(packAddress, 100);

  const edition = sdk.getEdition(editionAddress);
  await edition.setApprovalForAll(packAddress, true);
Upload the Chest Image to IPFS
// Upload the Chest to IPFS
const ipfsHash = await sdk.storage.upload(chestFile);
const url = ipfsHash.uris[0];
Create the Packs
 const packNfts = await pack.create({
    // Metadata for the pack NFTs
    packMetadata: {
      name: "Treasure Chest",
      description:
        "A chest containing tools and treasure to help you on your voyages.",
      image: url,
    },

    // Gold coin ERC20 Tokens
    erc20Rewards: [
      {
        contractAddress: tokenAddress,
        quantityPerReward: 5,
        quantity: 100,
        totalRewards: 20,
      },
    ],

    erc1155Rewards: [
      // Compass
      {
        contractAddress: editionAddress,
        tokenId: 0,
        quantityPerReward: 1,
        totalRewards: 100,
      },
      // Anchor
      {
        contractAddress: editionAddress,
        tokenId: 1,
        quantityPerReward: 1,
        totalRewards: 100,
      },
      // Sword
      {
        contractAddress: editionAddress,
        tokenId: 2,
        quantityPerReward: 1,
        totalRewards: 100,
      },
      // Captain's Hat
      {
        contractAddress: editionAddress,
        tokenId: 3,
        quantityPerReward: 1,
        totalRewards: 65,
      },
      // Cannon
      {
        contractAddress: editionAddress,
        tokenId: 4,
        quantityPerReward: 1,
        totalRewards: 50,
      },
      // Hook
      {
        contractAddress: editionAddress,
        tokenId: 5,
        quantityPerReward: 1,
        totalRewards: 50,
      },
      // Rum
      {
        contractAddress: editionAddress,
        tokenId: 6,
        quantityPerReward: 1,
        totalRewards: 10,
      },
      // Gold Key
      {
        contractAddress: editionAddress,
        tokenId: 7,
        quantityPerReward: 1,
        totalRewards: 5,
      },
    ],
    rewardsPerPack: 5,
  });

  console.log(`====== Success: Pack NFTs created =====`);

  console.log(packNfts);
})();
Now let's run our script to create the packs!
node ./scripts/bundleTokens.mjs
Voilà!
We now have 100-pack NFTs containing all of the ERC20 and ERC1155 tokens we created in the previous steps!
Now, let's create an interface where users can view their owned packs and open them to see what's inside!
Creating the UI
Our project comes pre-configured with code to connect and disconnect the user's wallet, we'll be extending this functionality.
First, we'll import usePack, useOwnedNFTs, and ThirdwebNftMedia from the React SDK.
Then, we'll connect to our pack, and use the useOwnedNFTs hook to view the packs this currently connected wallet address owns.
const pack = usePack("0x0Aee160411473f63be2DfF2865E81A1D59636C97");

const { data: nfts, isLoading } = useOwnedNFTs(pack, address);
Now, data will contain an array of packs that this wallet address owns.
We then map over each of the different ERC1155 tokens they own (assuming you created 1 kind of pack, this should just be 1):
<div className={styles.container}>
  <div className={styles.collectionContainer}>
    {!isLoading ? (
      <div className={styles.nftBoxGrid}>
        {nfts?.map((nft) => (
          <div className={styles.nftBox} key={nft.metadata.id.toString()}>
            <ThirdwebNftMedia
              // @ts-ignore
              metadata={nft.metadata}
              className={styles.nftMedia}
            />
            <h3>{nft.metadata.name}</h3>
            <p>Quantity: {nft.supply?.toNumber()}</p>
          </div>
        ))}
      </div>
    ) : (
      <p>Loading...</p>
    )}
  </div>
</div>
With some added styles we have something that looks like this:
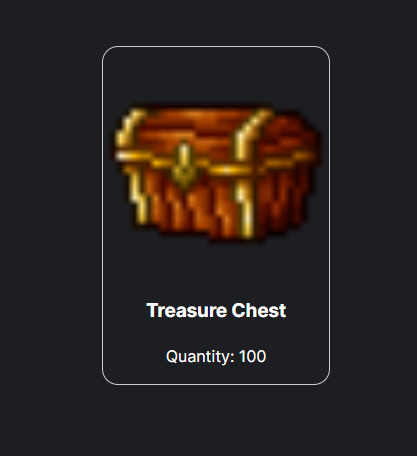
Now, we'll need to add the Open functionality!
Opening Packs
To open packs, we simply use the .open function and specify how many we want to open.
const [openedPackRewards, setOpenedPackRewards] = useState<PackRewards>();

async function open() {
  const openedRewards = await pack?.open(0, 1);
  console.log("Opened rewards:", openedRewards);
  setOpenedPackRewards(openedRewards);
}
Here, we're storing the rewards in state, so that we can display them on the UI after a user opens a pack.
Beneath our existing UI, let's create a section to display the opened rewards.
            <hr className={styles.divider} />

            <h2>Opened Rewards</h2>

           {openedPackRewards &&
            openedPackRewards?.erc20Rewards &&
            openedPackRewards?.erc20Rewards?.length > 0 && (
              <>
                <h3>ERC20 Tokens</h3>
                <div className={styles.nftBoxGrid}>
                  {openedPackRewards?.erc20Rewards?.map((reward, i) => (
                    <ERC20RewardBox reward={reward} key={i} />
                  ))}
                </div>
              </>
            )}

          {openedPackRewards &&
            openedPackRewards?.erc1155Rewards &&
            openedPackRewards?.erc1155Rewards?.length > 0 && (
              <>
                <h3>ERC1155 Tokens</h3>
                <div className={styles.nftBoxGrid}>
                  {openedPackRewards?.erc1155Rewards.map((reward, i) => (
                    <ERC1155RewardBox reward={reward} key={i} />
                  ))}
                </div>
              </>
            )}
You'll notice we've referenced ERC20RewardBox and ERC1155RewardBox components here. That's because the rewards that come back from the open function only contain the contract address and token ID.
We'll need to use these values to fetch the metadata about the tokens that we opened. Since that data looks a bit different for the two different types of tokens, that's why I have created two components to simplify it!
Create a folder called components, and create two files within it
ERC20RewardBox.tsxERC1155RewardBox.tsx
ERC20RewardBox:
import { ThirdwebNftMedia, useMetadata, useToken } from "@thirdweb-dev/react";
import React from "react";
import styles from "../styles/Home.module.css";

type Props = {
  reward: {
    contractAddress: string,
    quantityPerReward: string | number,
  },
};

export default function ERC20RewardBox({ reward }: Props) {
  const token = useToken(reward.contractAddress);
  const { data } = useMetadata(token);

  return (
    <div className={styles.nftBox}>
      {data && (
        <>
          <ThirdwebNftMedia metadata={data} className={styles.nftMedia} />
          <h3>{data?.name}</h3>
          <p>Amount: {reward.quantityPerReward}</p>
        </>
      )}
    </div>
  );
}
ERC1155RewardBox:
import { ThirdwebNftMedia, useEdition, useNFT } from "@thirdweb-dev/react";
import { BigNumber } from "ethers";
import React from "react";
import styles from "../styles/Home.module.css";

type Props = {
  reward: {
    tokenId: string | number | bigint | BigNumber,
    contractAddress: string,
    quantityPerReward: string | number | bigint | BigNumber,
  },
};

export default function ERC115RewardBox({ reward }: Props) {
  const edition = useEdition(reward.contractAddress);
  const { data } = useNFT(edition, reward.tokenId);

  return (
    <div className={styles.nftBox}>
      {data && (
        <>
          <ThirdwebNftMedia
            metadata={data?.metadata}
            className={styles.nftMedia}
          />
          <h3>{data?.metadata.name}</h3>
        </>
      )}
    </div>
  );
}
Finally, we attach the open function we created to a button:
<button
  className={`${styles.mainButton} ${styles.spacerBottom}`}
  onClick={() => open()}
>
  Open
</button>
And we can successfully open packs!
When they are opened, we show the metadata for the tokens that were opened:

Conclusion
We've created some awesome NFT packs that reveal NFTs and ERC20 tokens when opened!
In this guide, we have covered:
- Creating a "semi-fungible" NFT Collection
- Minting NFTs with different quantities into our collection
- Creating our own ERC20 token/cryptocurrency
- Bundling all of our NFTs and cryptocurrency supply into packs
- Creating randomized pack openings that reveal the tokens inside!
Resources
Artwork: https://free-game-assets.itch.io/free-pirate-stuff-pixel-art-icons
