This guide explains how to mint an NFT without writing code on thirdweb in a few steps.
Minting with thirdweb guarantees you own both the NFT and the smart contract. If you mint an NFT on a platform where you don't own the smart contract, this can create issues. What will happen if this platform goes down or decides to change the royalties of a smart contract? Owning both the NFT and the smart contract ensures true ownership.
To create our NFT, we will need to have a crypto wallet. For this guide, we are using Coinbase Wallet. If you don't have a wallet, you can create one by following our Setup Coinbase Wallet Guide.
Setup
To begin, navigate to the thirdweb dashboard and connect your wallet.
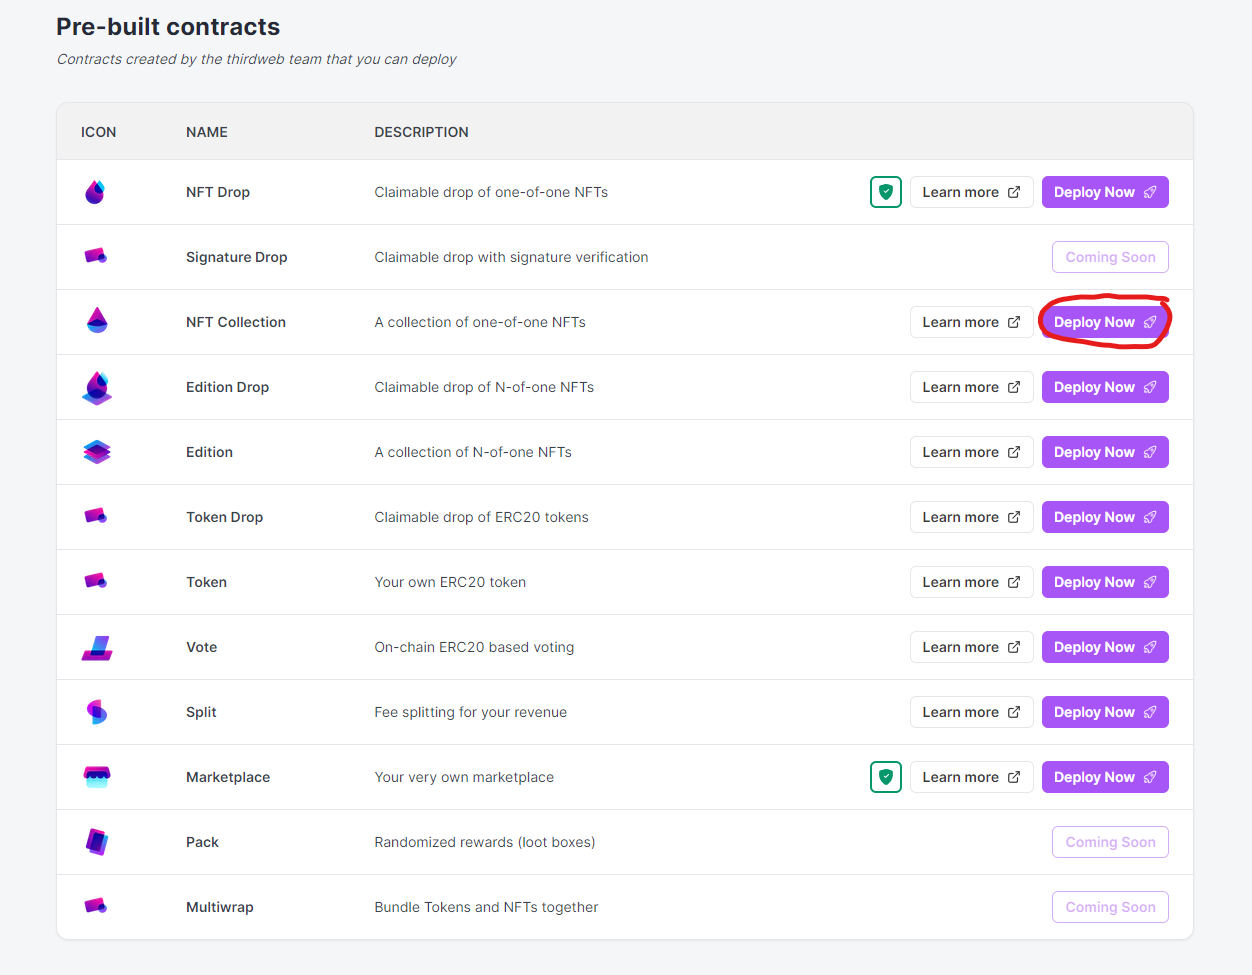
Once connected, you will be able to click the blue ‘Deploy New Contract’ button > click ‘Deploy Now’ on the ‘NFT Collection’.
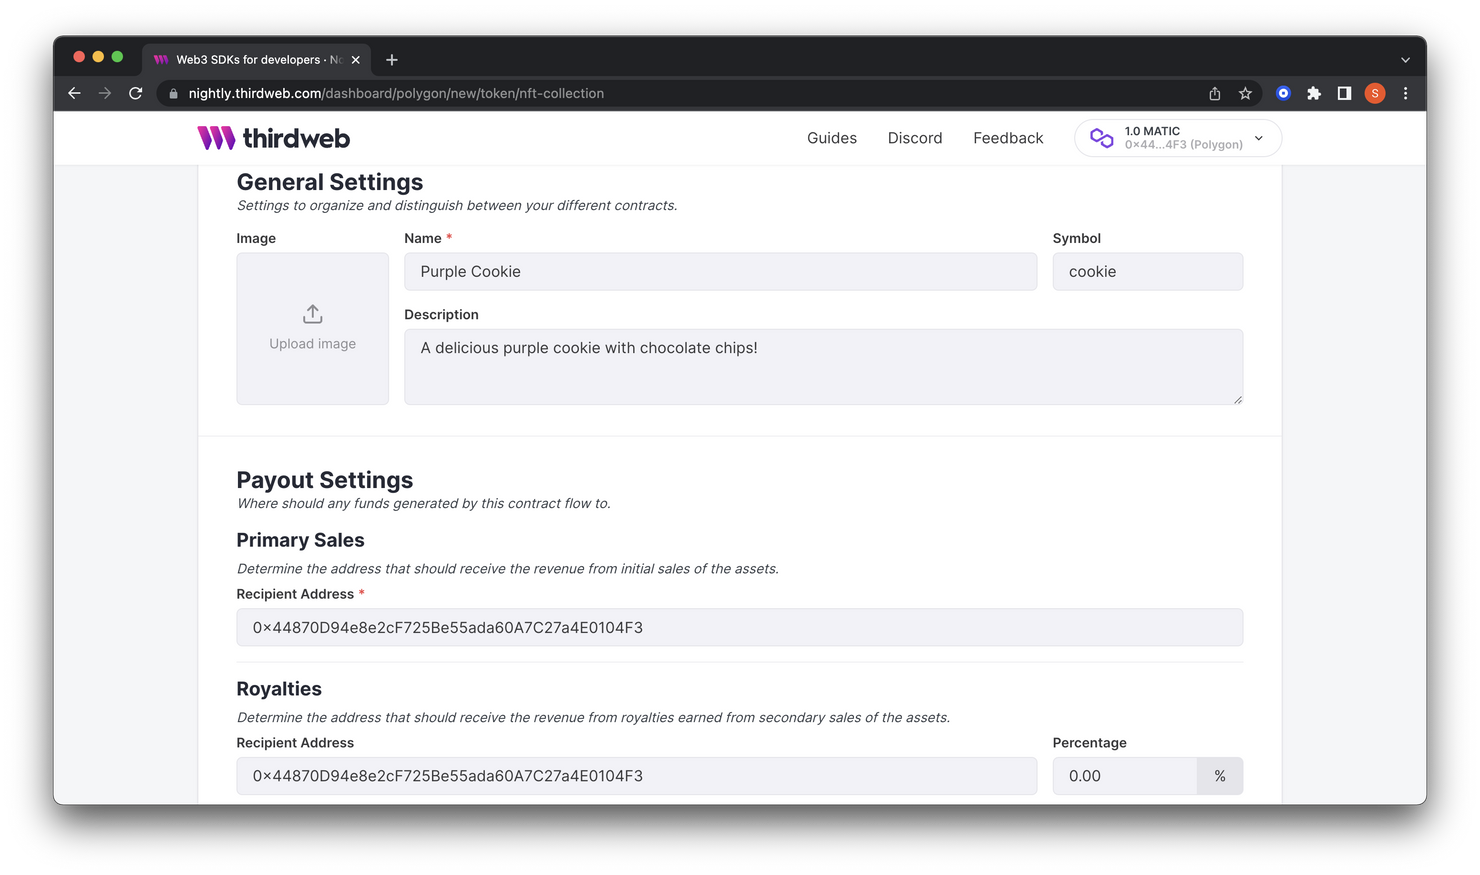
Under general settings, add a contract name, description, image, and symbol to distinguish your contracts.
You can pick any name you want for the contract. Under payout settings, add the wallet address for primary sales and, optionally, royalty sales.
The wallet address for primary sales is usually your own wallet, which is filled in by default. Leave it like this if you want to receive the proceeds of any sale under this contract.
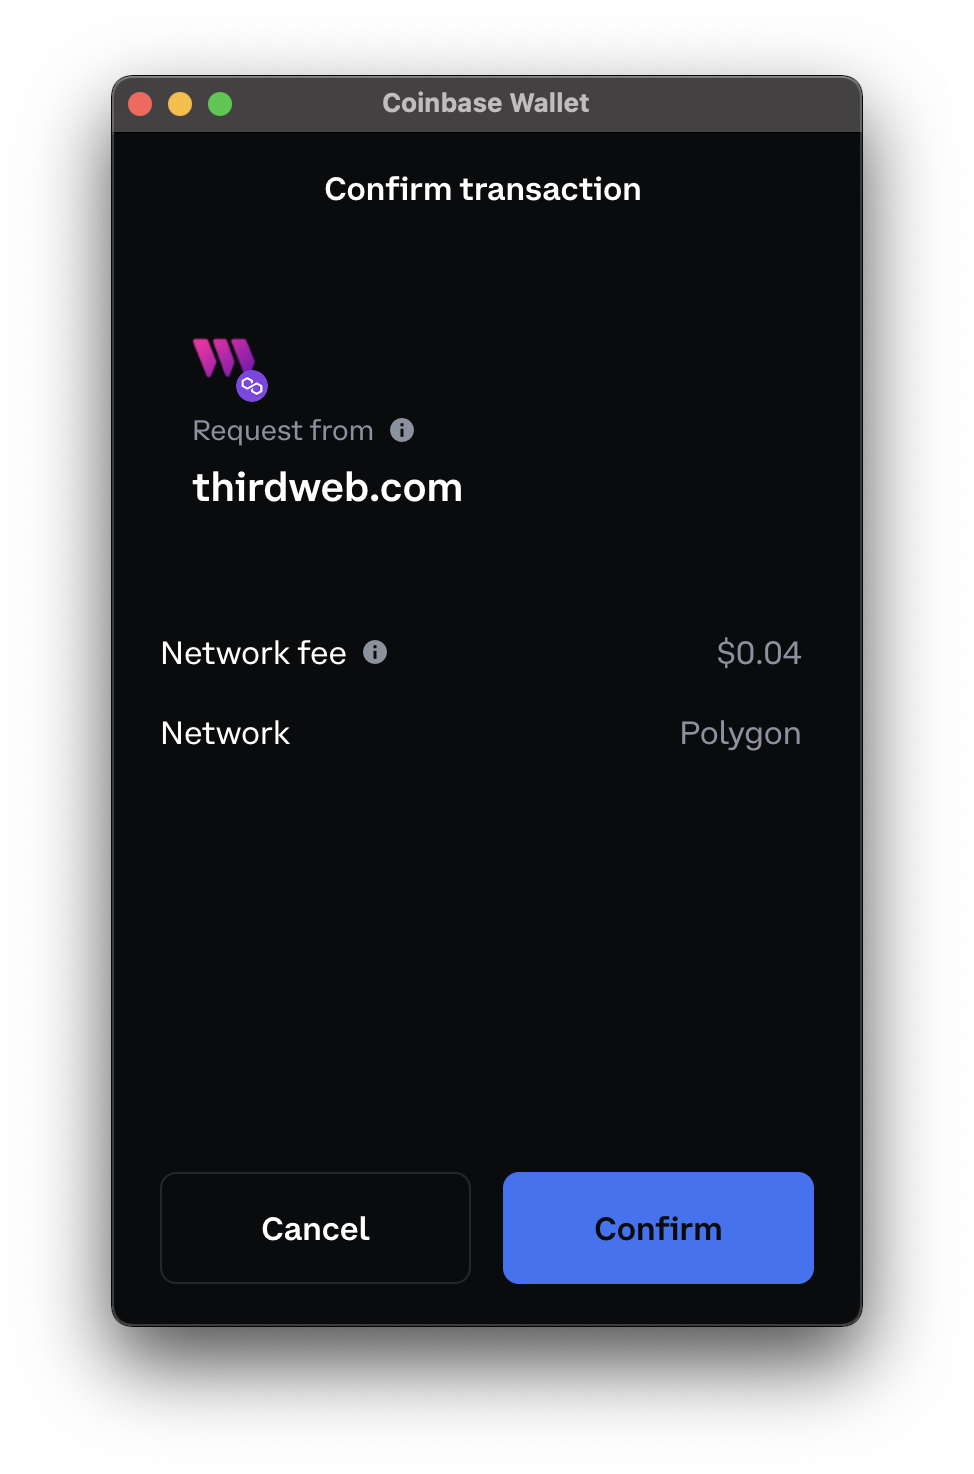
Scroll down and click the blue ‘deploy now’ button to prompt a transaction confirmation from your wallet. Confirm this from the pop-up on your wallet.
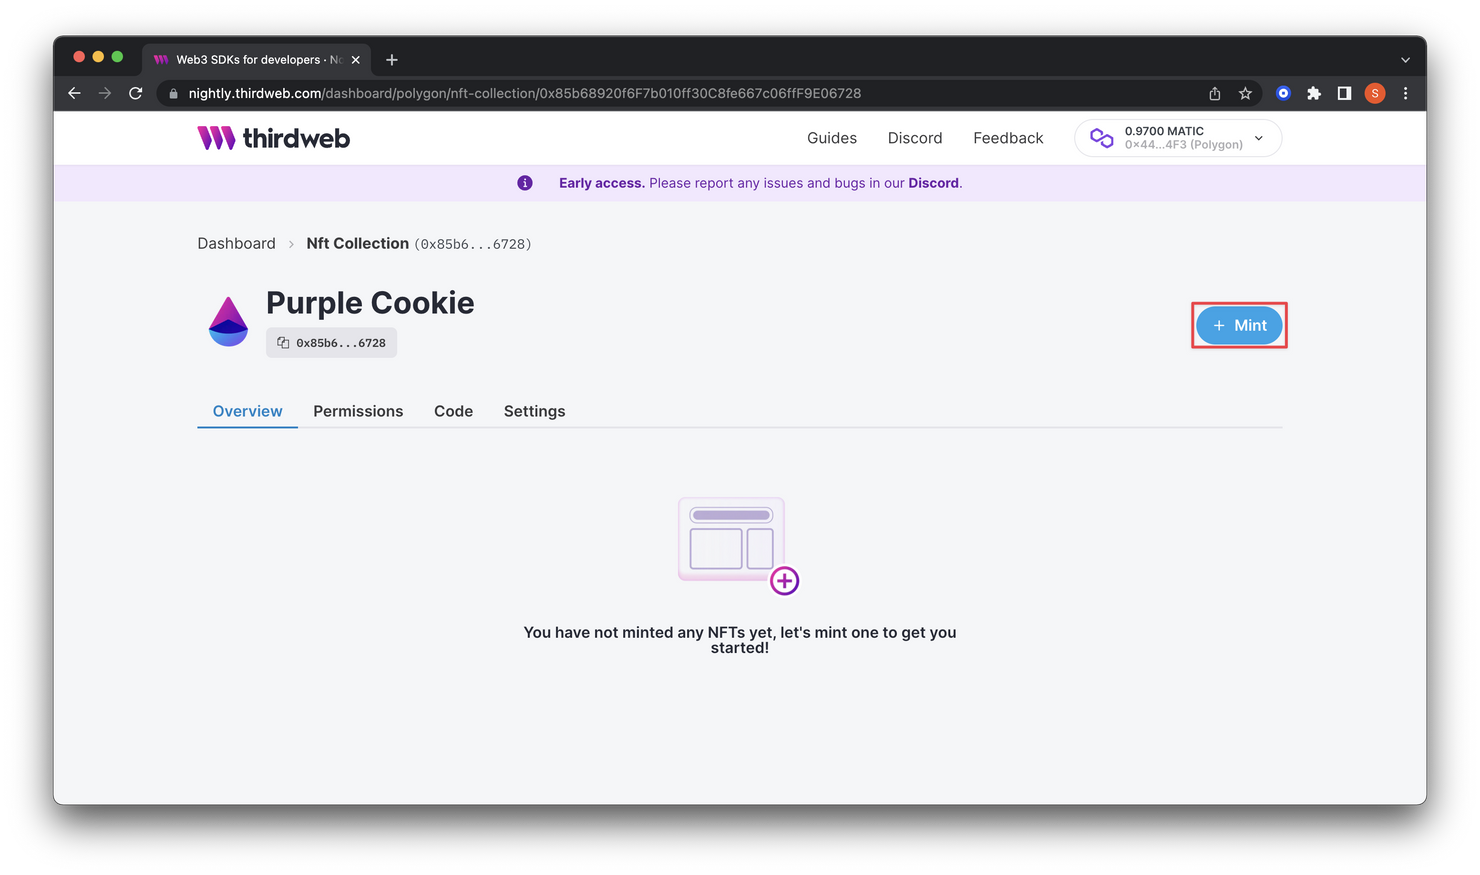
Once we get through the settings, we can mint our first NFT through the dashboard.
Minting the NFT
Click on the blue ‘+ Mint’ button in the top right corner.
A settings panel will pop up on the right side of your screen. Give your NFT a name, description, and upload your file.
NFTs can be a variety of different mediums including image, audio, video, html, text file, pdf, or even 3d models.
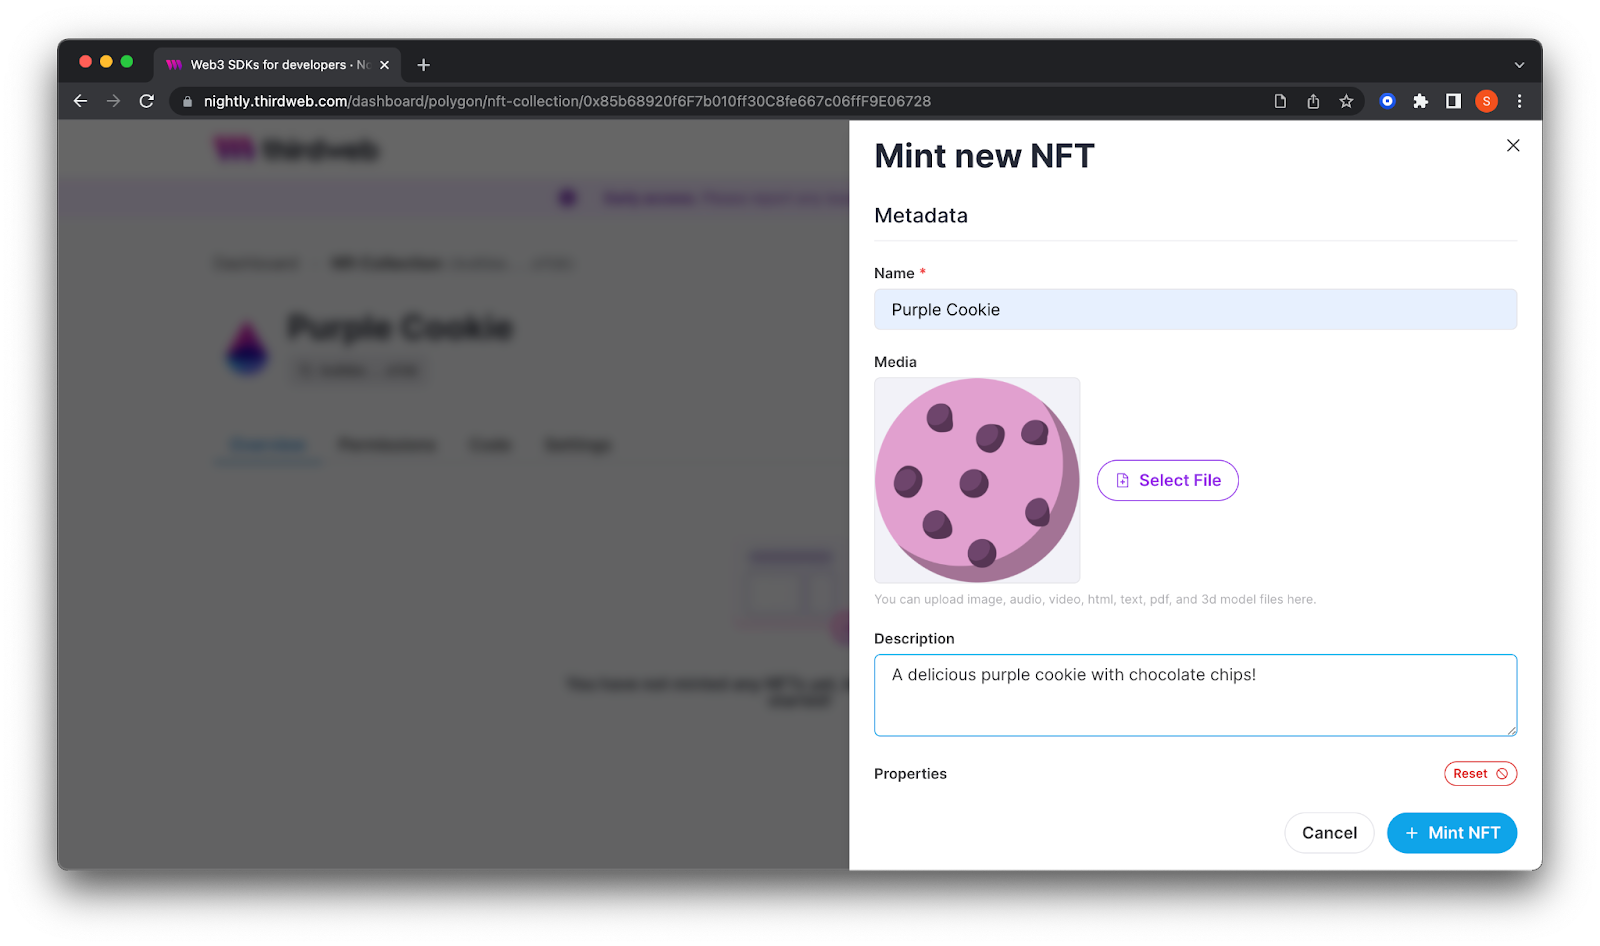
Optionally, you can add some metadata or properties to your NFT using ‘key’ and ‘value’ pairs. In this example, I chose the color of the cookie and the number of chocolate chips as the key-value properties.
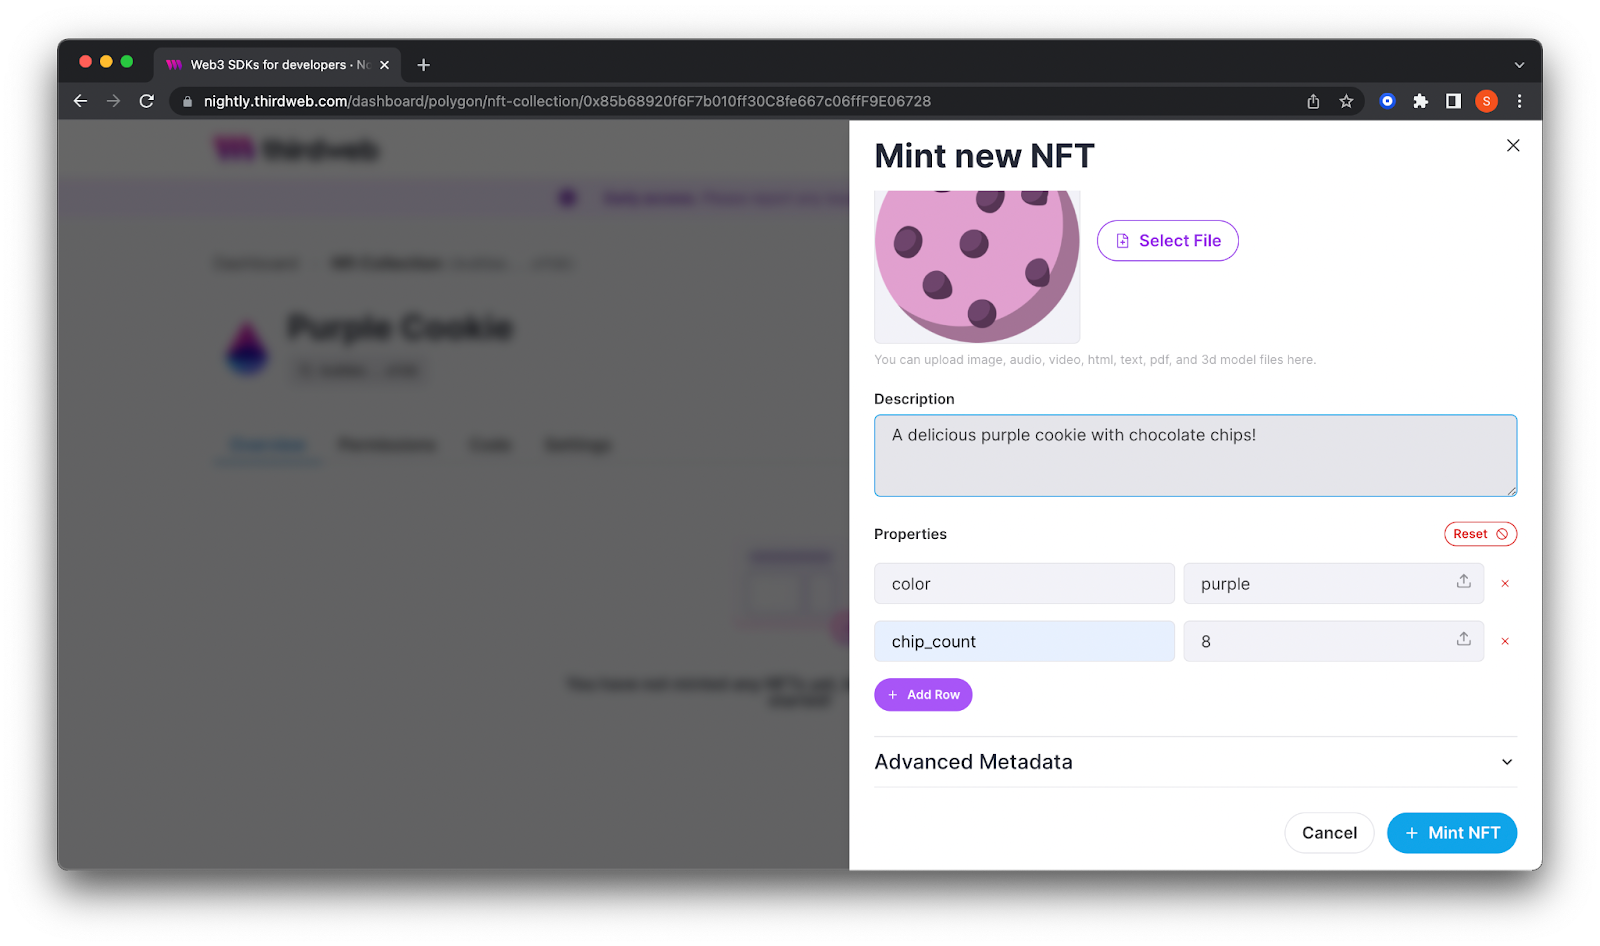
After adding the fields, click on the blue ‘+ Mint NFT’. You will be prompted to confirm the transaction in your wallet. Click the confirmation button. And that’s it- the newly minted NFT will appear in your dashboard.
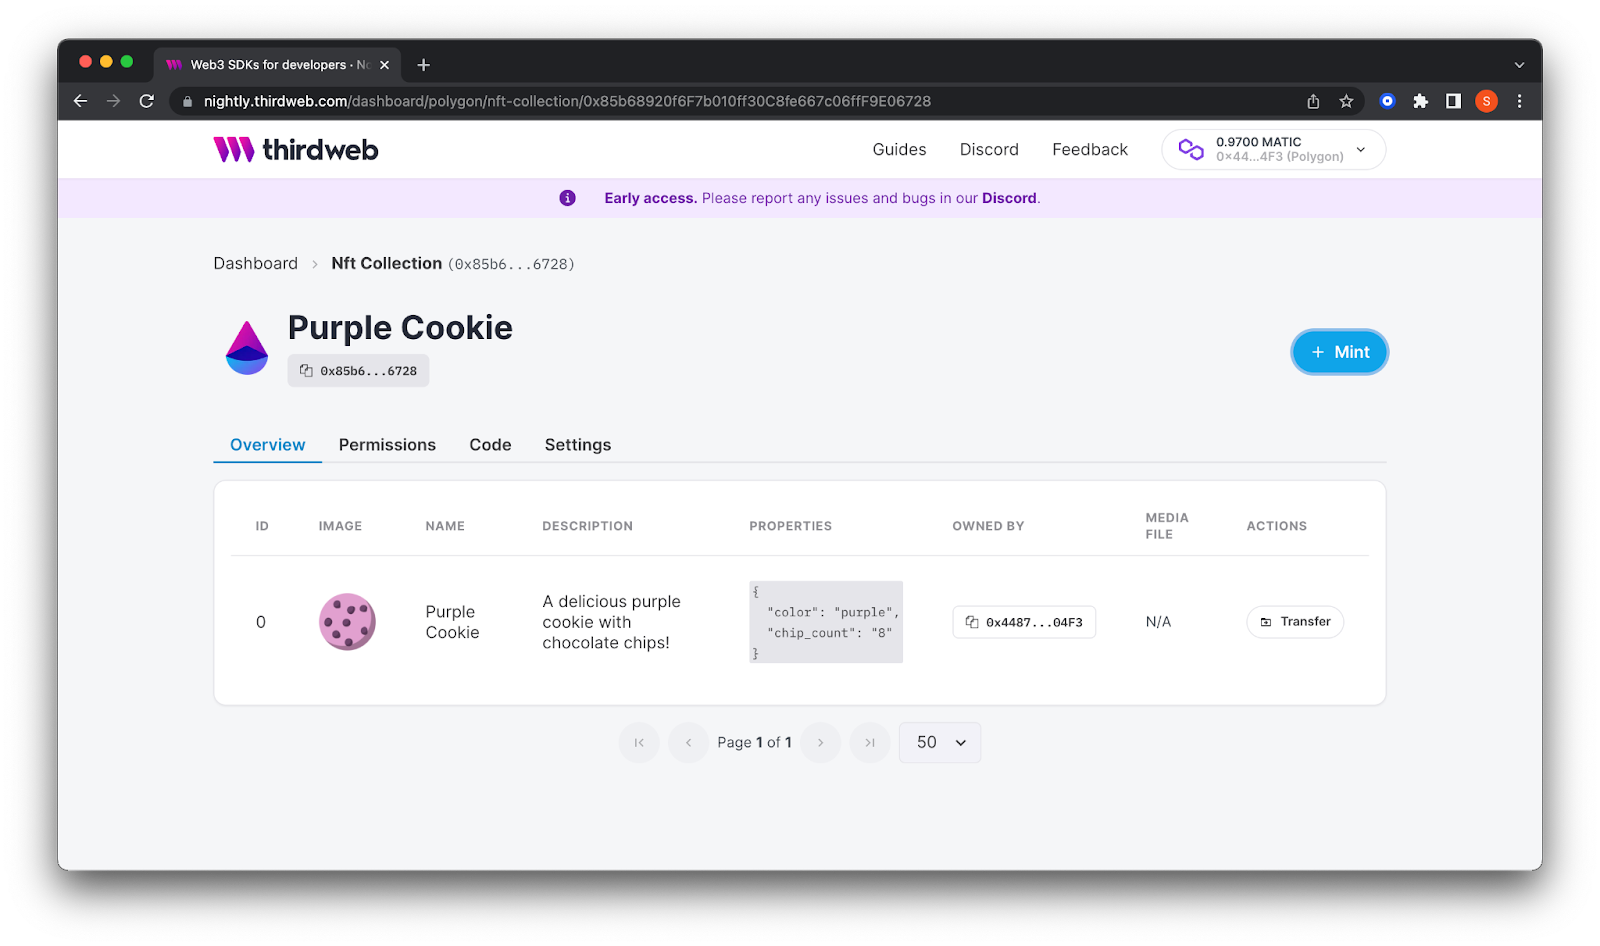
Congratulations!
You have now minted your first NFT using the dashboard. Now you can send it to a friend, list it on a marketplace, set it as your profile pic on Twitter, or just hold it in your wallet for safekeeping. The possibilities are endless with NFTs.
