Creating a Marketplace Contract
In this section, we'll show how to:
- Create the marketplace contract that will be used to store our listings
- Configure the metadata such as the name, image, description, and fees of the Marketplace.
To create a Marketplace contract, head to the dashboard and connect your wallet.
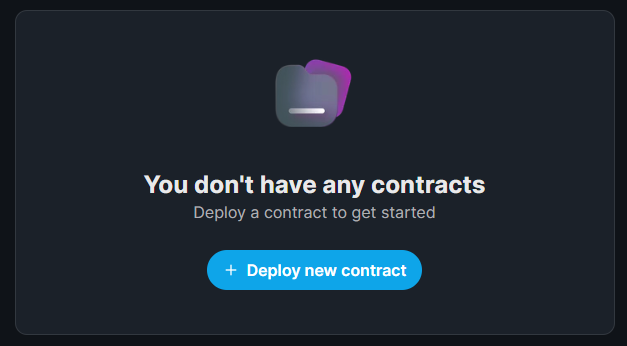
Then click on the Deploy New Contract button.
Select Marketplace from the list of contracts and click Deploy Now.
Before deploying it, you can configure the contract's Name, Symbol, and Description.
Once you're happy, let's deploy this Marketplace onto the Mumbai (MATIC) Test network.

This will prompt you to accept a transaction in MetaMask (or whatever wallet you connected with), and deploy your smart contract onto the Mumbai Test network!
You might notice that the transaction requests to Deploy a Proxy.
If you want to learn more about proxy contracts, check out our documentation on How thirdweb pre-built contracts work.
Now we're ready to upload some listings to our Marketplace contract.
Bonus Tip: SDK Deployments
You can do everything we just did in code using the SDK too!
- React
- Javascript
- Python
- Go
const sdk = useSDK();

const contractAddress = await sdk.deployer.deployMarketplace({
  name: "My Marketplace",
  primary_sale_recipient: "your-address",
});
const contractAddress = await sdk.deployer.deployMarketplace({
  name: "My Marketplace",
  primary_sale_recipient: "your-address",
});
Python SDK support for deployMarketplace is coming soon.
Want this feature sooner? Let us know in Discord!
Go SDK support for deployMarketplace is coming soon.
Want this feature sooner? Let us know in Discord!