Creating an NFT Drop Contract
In this section, we'll show how to:
- Create the smart contract that will be used to store our NFTs.
- Configure the metadata such as the name, image, description, and royalty fees of the NFT Drop.
- Deploy the contract to a test network, and set up our claim phases.
Creating an NFT Drop Contract
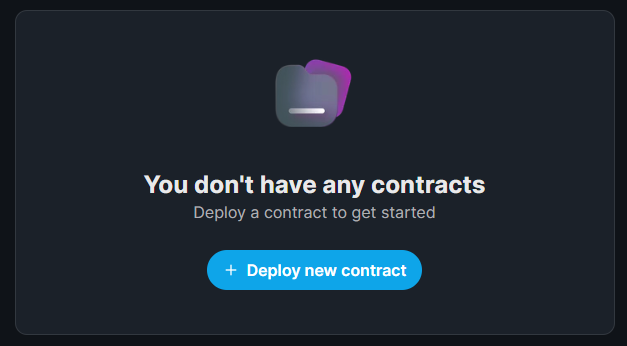
To create an NFT Drop contract, head to the dashboard and connect your wallet.
Then click on the Deploy New Contract button.
Since we want to lazy mint our NFTs and make them available to be claimed by our users, the NFT Drop contract is best suited for this.
Select NFT Drop from the list of contracts and click Deploy Now.

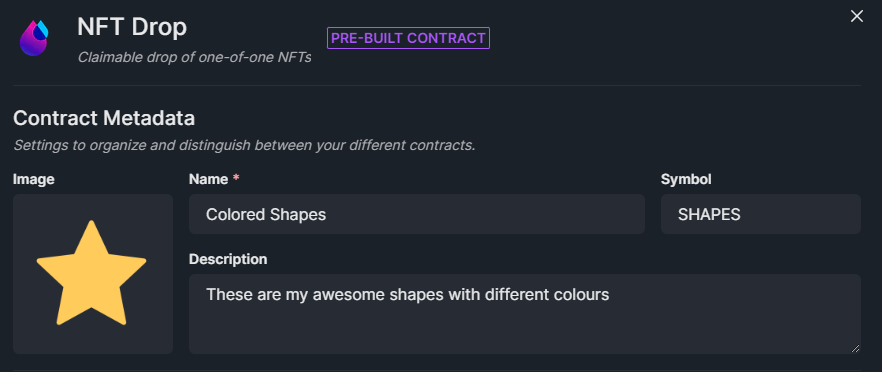
You can configure the Name, Symbol, Description, Image, and Royalty fees in the settings before you deploy your NFT Drop.
I'll call my NFT Drop Colored Shapes and stick with the default values for the rest of the fields,
but feel free to go wild and configure this to your liking!
You may have seen people use an asset that cycles through some of the images in the collection as the cover image.
You can do this too using a tool such as ezgif to achieve the same effect, and set this .gif file as the Image of the NFT Drop here.
Once you're happy, let's deploy this NFT Drop onto the Mumbai (MATIC) Test network.

This will prompt you to accept a transaction in MetaMask (or whatever wallet you connected with), and deploy your smart contract onto the Mumbai Test network!
You might notice that the transaction is requesting to Deploy a Proxy.
If you want to learn more about proxy contracts, check out our documentation on How thirdweb pre-built contracts work.
Configuring Claim Phases
Claim Phases are conditions we can configure to define when and how users can claim NFTs from our collection.
For example, a popular claim phase pattern is to have one claim phase where allow-listed wallets can claim, then another claim phase after that, where any wallet can claim.
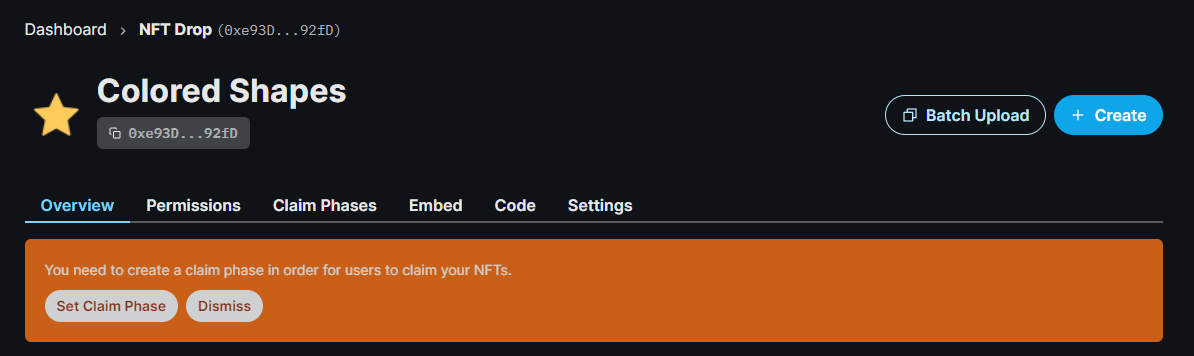
From the dashboard, let's click Set Claim Phase and configure a simple claim phase where anyone can mint/claim our NFTs.
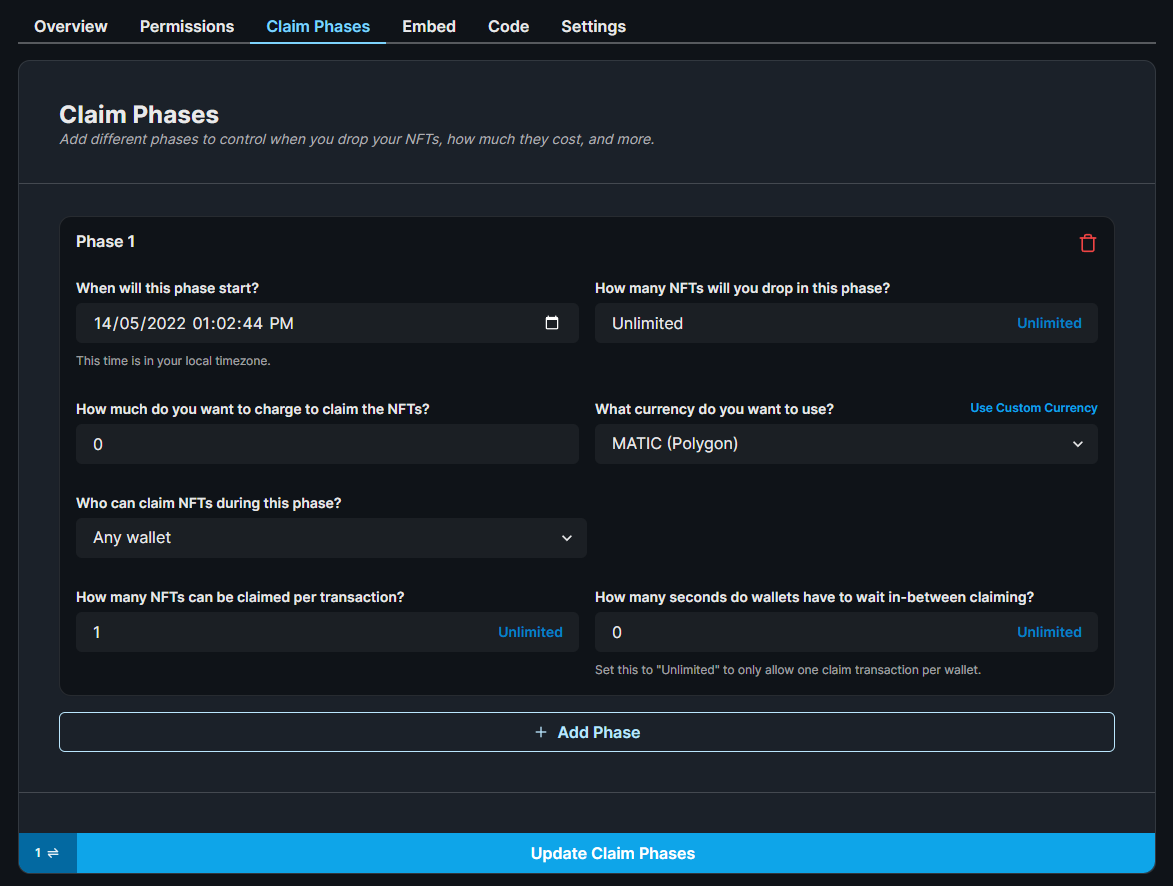
Click on Add Phase, and configure it to your liking!
I'm going to change the How many NFTs can be claimed per transaction? to be 1 and accept the default values for the other fields.
Once you're happy with your claim phase(s), click Update Claim Phases
Now we're ready to upload our NFTs to our NFT Drop contract.
Bonus Tip: SDK Deployments
You can do everything we just did in code using the SDK too!
Deploy the NFT Drop contract:
- React
- Javascript
- Python
- Go
const sdk = useSDK();

const contractAddress = await sdk.deployer.deployNFTDrop({
  name: "My Drop",
  primary_sale_recipient: "your-address",
});
const contractAddress = await sdk.deployer.deployNFTDrop({
  name: "My Drop",
  primary_sale_recipient: "your-address",
});
Python SDK support for deployNFTDrop is coming soon.
Want this feature sooner? Let us know in Discord!
Go SDK support for deployNFTDrop is coming soon.
Want this feature sooner? Let us know in Discord!
Set Claim Conditions:
- React
- Javascript
- Python
- Go
const presaleStartTime = new Date();
const publicSaleStartTime = new Date(Date.now() + 60 * 60 * 24 * 1000);
const claimConditions = [
  {
    startTime: presaleStartTime, // start the presale now
    maxQuantity: 2, // limit how many mints for this presale
    price: 0.01, // presale price
    snapshot: ['0x...', '0x...'], // limit minting to only certain addresses
  },
  {
    startTime: publicSaleStartTime, // 24h after presale, start public sale
    price: 0.08, // public sale price
  }
]);
await contract.claimConditions.set(claimConditions);
Python SDK support for claimConditions is coming soon.
Want this feature sooner? Let us know in Discord!
Go SDK support for claimConditions is coming soon.
Want this feature sooner? Let us know in Discord!